
Cheap No Sew RV Curtain
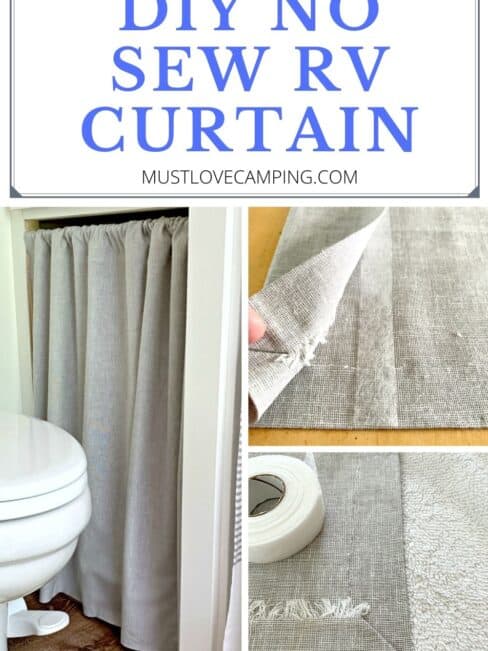
How to make a cheap no sew RV curtain in under 60 minutes for a tight bathroom cabinet.
Ok, I admit it…I’m not a person that likes to sew. Give me a saw and paintbrush and I can do almost anything.
Sewing…not so much.

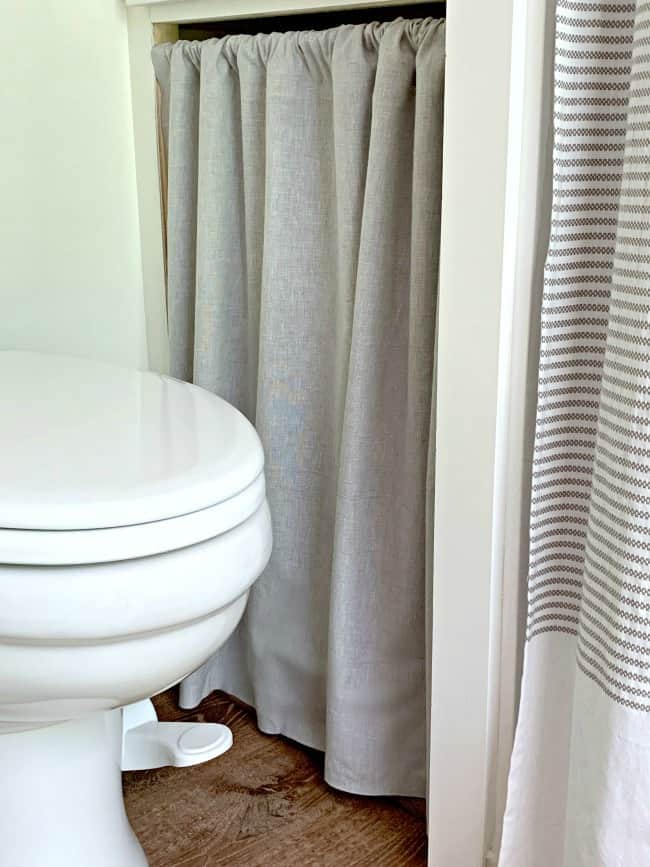
While working on the bathroom area in our RV, I found that I needed to cover an open cabinet next to the toilet.
It’s a space that we needed access to, because we have our shower plumbing in there, and it was perfect for extra storage.
The issue is that it’s right next to the toilet so a door wouldn’t work. We needed an easy fix to cover the hole but still allow quick access.

I suggested a curtain but my doubting husband didn’t like that idea. He didn’t think that it would look right and he was worried about nastiness from the toilet.
The second point was valid but I was still determined.
Of course I didn’t listen to him and went ahead with my plan. I’ve never made a curtain before so this was truly a first for me and it ended up being so easy to do.
Supplies for a cheap no sew curtain
As an Amazon Associate and member of other affiliate programs, I earn from qualifying purchases.
- fabric
- no sew hem tape
- tape measure
- straight pins
- iron
- yard stick
- chalk
- scissors
- tension rod
Measuring for curtain fabric
The first thing I did was to measure the opening so that I could get my fabric. It measured roughly 36 x 30″.
By my calculations I would need a piece of fabric that was 54 x 35, 1 1/2 times the width (or 54″) and the length was 30″ plus 2″ for the bottom hem and 3″ for the rod pocket.
I chose a simple gray cotton fabric, that had some weight to it, and bought 2 yards. Bonus points because it was 50% off so my total was $10 just for the fabric.

Once I had my fabric and supplies together I went to work making my curtain.
Making a no sew curtain
Step 1. I wanted the hem on both sides of the curtain to be 1″ so I used the tape measure, yard stick and chalk to mark it.
Then I made a 1” fold and pinned into place. I used a hot, dry iron to press the fabric to make a crease on each side and then removed the pins.

Step 2. With my 1″ hem ironed, I cut and placed a piece of no sew tape the length of the fabric in the crease.
I folded the hem over and used a hot, dry iron to seal the hem.
I repeated this same process for the other side of the curtain.

Step 3. Next, I made the hem at the bottom of the curtain, by repeating Step 1.
I wanted neat, angled corners with this hem so, instead of taking the no sew tape to the end, I trimmed it to the edge of the side seam.
I pressed the seam with my iron.

Before I moved on, I let the seam cool for a few minutes so that I was sure that the tape did its job.
Once it was cool, I made an angled corner and added a triangle piece of no sew tape under the fold.
Then I pressed it into place with my hot iron.

Voilá…instant angled corner!
I repeated this process on the other 3 corners of the fabric.

Creating a rod pocket for a DIY no sew curtain
Step 4. The last step was to make the top rod pocket for the tension rod. First I made a 1″ hem like I did on the side (Steps 1 & 2), and pressed it.
Then I measured down 3″ and repeated the process of making a hem.
Instead of putting the no sew tape in the fold, I placed the tape where the fabric meets, creating a 2″ rod pocket.

I had to iron this seam a few times, on the highest setting, to get the hem tape to stick but once it bonded, it was good.


I did a quick press of the whole curtain and then it was ready to hang up in the RV.

The whole process took me about an hour and it was an hour well-spent. I love how it turned out! No sew was definitely the way to go.
Oh, and the hubs?
He liked it, too.
Check out our other DIY projects for the cargo trailer conversion.
Cheap No Sew RV Curtain
How to make a cheap no sew RV curtain the easy way. With just a few supplies you can DIY this simple curtain in under 1 hour.
Materials
- fabric (the amount needed depends on the size of the opening you are covering)
- iron-on hem tape
- curtain rod (I used a tension rod)
Tools
- iron
- yard stick
- scissors
- chalk
- straight pins
- tape measure
Instructions
- Measure opening to be covered with the no sew curtain
- Cut fabric to size (I did 1 1/2x the width and length plus 2" for the bottom hem and 4" for the rod pocket)
- Measure and pin 1" hem on both sides of curtain
- Use a hot, dry iron to press a crease for the hem
- Remove pins
- Cut and place iron-on hem tape the length of the crease
- Fold hem over tape, use your hot, dry iron to seal the hem
- Repeat Steps 4-7 on the other side of the curtain
- Next, make the 2" bottom hem, repeat Steps 4 & 5 (just measure 2" instead of 1")
- To create angled corners: instead of taking the no sew tape to the end, I trimmed it to the edge of the side seam
- Press the seam with a hot, dry iron
- Before moving on, let fabric cool to allow hem tape to set up
- Once it's cool, fold the fabric into an angled corner
- Place a triangular shaped piece of iron-on tape under the corner fold
- Use hot iron to press angled corner
- Repeat process for opposite corner (Steps 13-15)
- Create top rod pocket: first create a 1" hem repeating Steps 3-7
- Measure down 3", fold fabric and repeat the process for making a hem
- Place a strip of iron-on hem tape the length of the top hem but place it where the fabric meets, creating a rod pocket
- Use hot iron to activate tape
- Slip curtain rod, or tension rod, through rod pocket
- Hang your no sew RV curtain